- Heat milk between 105° F and 115° F. If the yeast is too cold it will take longer to activate if it is too hot then it will die.
- Be mindful if you are placing heated milk in a cold bowl because it will cool the water. I usually aim for about 118° F and after adding the milk to the bowl it will cool to about 112° F
- Add milk and yeast to the stand mixer bowl.
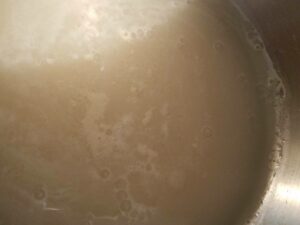
- Let stand for at least 10 min. When you start to see these bubbles you will know your yeast has activated.
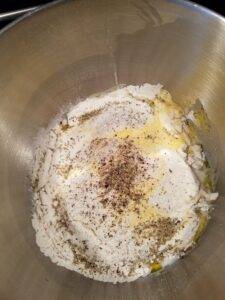
- Add in this order:
- olive oil
- hot pepper sauce
- flour
- cornmeal
- sugar
- rosemary
- salt
- black pepper
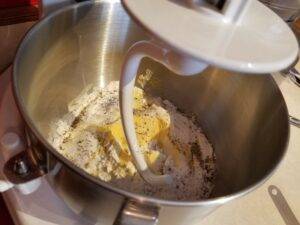
- Using the stand mixer with dough hook on low speed (1-2) for 8 minutes. The dough is ready when you poke your finger in dough and it will spring back.
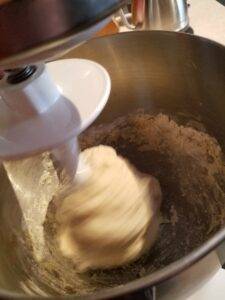
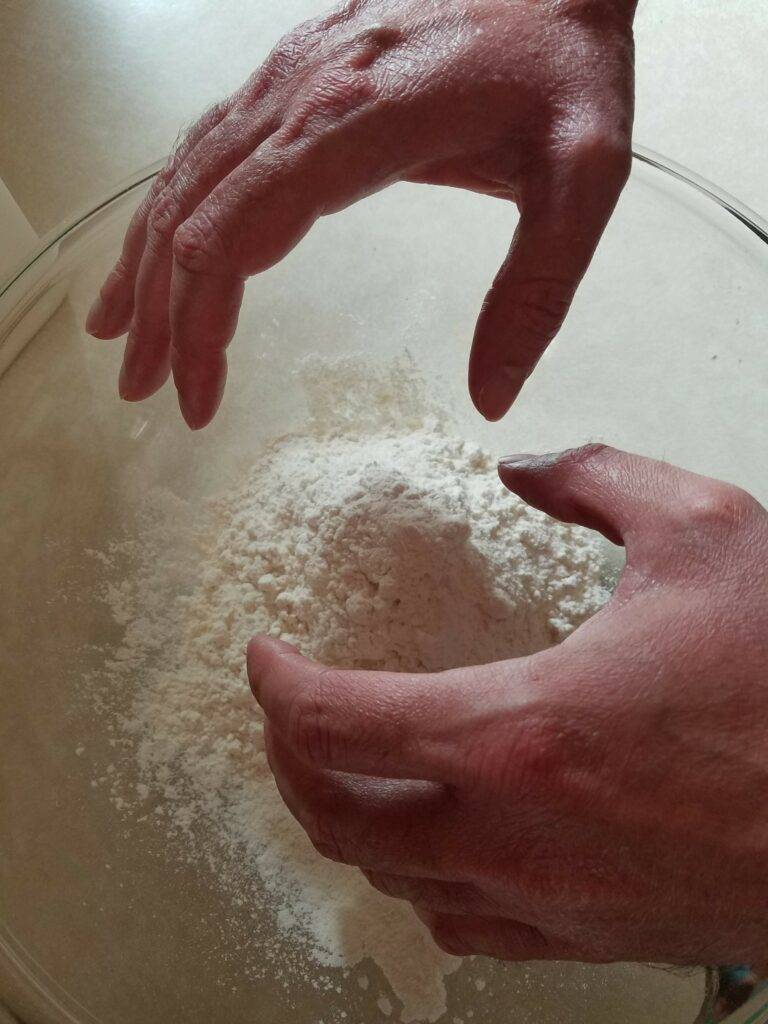
- Flour a surface and knead the dough a few turns about 5. Put the palm of your hand in the center of the dough and press down and away from you. Fold the dough back into a ball and repeat. Poke your finger in dough to be sure it springs back. If not keep kneading.
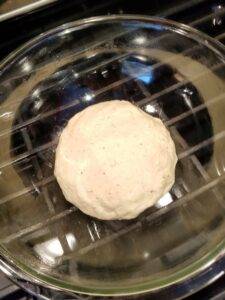
- Butter a large bowl and add dough turning once then cover.
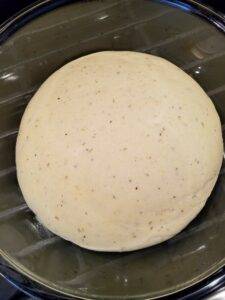
- Place in a warm dry place for 1 hour or until the dough doubles in size.
- I like to preheat the oven to 170° F and after the oven is preheated I turn off the oven and add the bread.
- I like to preheat the oven to 170° F and after the oven is preheated I turn off the oven and add the bread.
- After the dough has risen punch down.
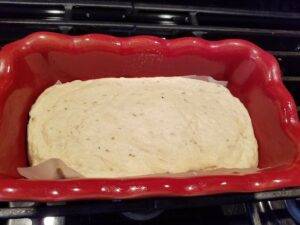
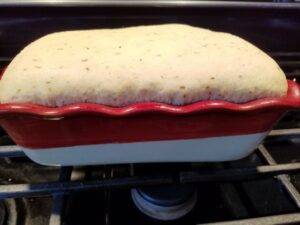
- Grease the loaf pan then add parchment paper so the loaf does not stick to the pan. Add dough, cover and place back in your warm dry place for about 1 hour.
- I like to preheat the oven to 170° and after the oven is preheated I turn off the oven and add the bread
- I like to preheat the oven to 170° and after the oven is preheated I turn off the oven and add the bread
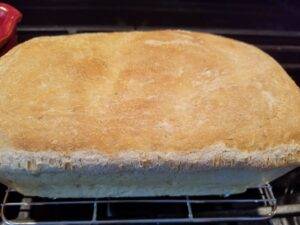
- If you let your bread rise in the oven remove and preheat oven to 350° F and bake for 25 minutes.
- Cool completely on a wire rack.
- Heat milk between 105° F and 115° F. If the yeast is too cold it will take longer to activate if it is too hot then it will die.
- Be mindful if you are placing heated milk in a cold bowl because it will cool the water. I usually aim for about 118° F and after adding the milk to the bowl it will cool to about 112° F
- Add milk and yeast to a large bowl.
- Let stand for at least 10 min. When you start to see these bubbles you will know your yeast has activated.
- Add in this order:
- olive oil
- hot pepper sauce
- flour
- cornmeal
- sugar
- rosemary
- black pepper
- salt
- Flour a surface and knead the dough for about 8 – 10 minutes. Put the palm of your hand in the center of the dough and press down and away from you. Fold the dough back into a ball and repeat. The dough will be very sticky. Poke your finger in dough to be sure it springs back. If not keep kneading.
- Butter a large bowl and add dough turning once then cover.
- Place in a warm dry place for 1 hour or until the dough doubles in size.
- I like to preheat the oven to 170° F and after the oven is preheated I turn off the oven and add the bread.
- I like to preheat the oven to 170° F and after the oven is preheated I turn off the oven and add the bread.
- After the dough has risen punch down.
- Grease the loaf pan then add parchment paper so the loaf does not stick to the pan. Add dough, cover and place back in your warm dry place for about 1 hour.
- I like to preheat the oven to 170° and after the oven is preheated I turn off the oven and add the bread
- I like to preheat the oven to 170° and after the oven is preheated I turn off the oven and add the bread
- If you let your bread rise in the oven remove and preheat oven to 350° F and bake for 25 minutes.
- Cool completely on a wire rack.
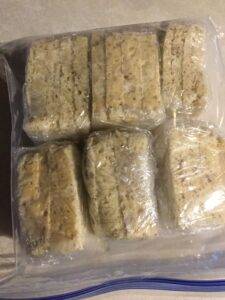
- Allow the bread to cool completely
- Wrap in plastic wrap then depending on the loaf size place in a freezer bag or wrap with tin foil and place the loaf in the freezer.