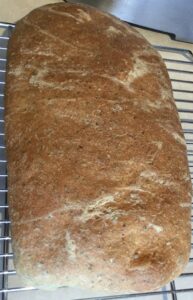
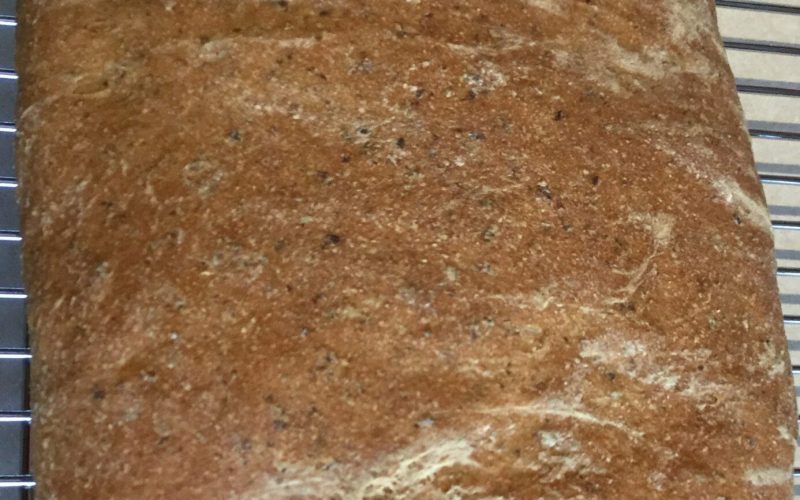
We’ve been making bread for years! It’s cheaper and it taste much better. Plus it doesn’t have all of the preservatives found in the store-bought variety. White oat bread not only tastes good but it is very good for you. It is denser than a regular white bread and makes the perfect breakfast toast.
Equipment for making bread
Stand Mixer
I like to use a stand mixer with a bread hook attachment for this recipe because I like the process of making bread without the work of kneading.
Bread Maker
I love bread makers! It is so great to just add the ingredients in and walk away. I have to be honest, I usually don’t use a bread maker to bake the bread but to complete the process of the dough especially if time is an issue for me.
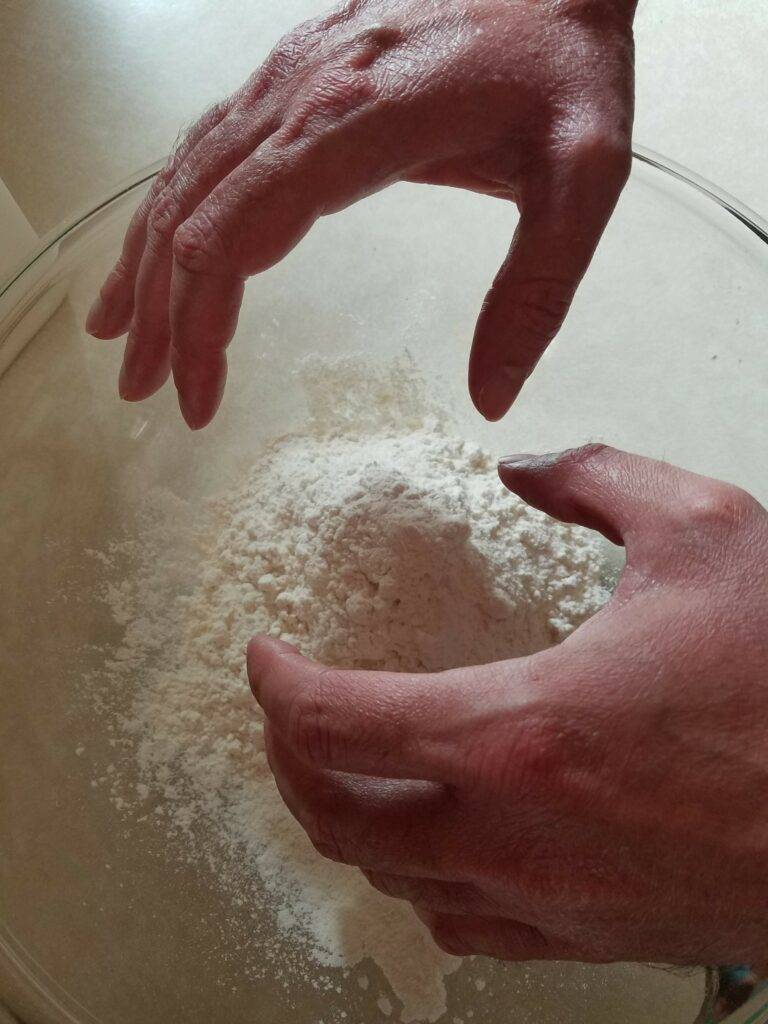
By Hand
You can also make this recipe by hand, which can be a bit therapeutic to be honest.
However you choose, delicious wheat bread will be the output that you’ll want to make again and again.
White Oat Bread
- 1 teaspoon active dry yeast
- 1/3 cup water
- 2/3 cup milk
- 1 tablespoon butter
- 2 ~ 1/2 cup flour
- 1 cup quick cooking oats
- 3 tablespoons packed brown sugar
- 3/4 teaspoon salt
Stand Mixer
- Heat 1/3 cup water between 110° F and 115° F. If the yeast is too cold it will take longer to activate if it is too hot then it will die.
- Be mindful if you are placing the heated water in a cold bowl because it will cool the water. I usually aim for about 118° F and after adding the water to the bowl it will cool to about 112° F
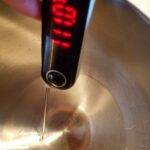
- Be mindful if you are placing the heated water in a cold bowl because it will cool the water. I usually aim for about 118° F and after adding the water to the bowl it will cool to about 112° F
- Add water and 1 teaspoon yeast to a large bowl or stand mixer bowl; stir.
- Let stand for at least 10 min. When you start to see these bubbles you will know your yeast has activated.

- Heat 2/3 cup milk and 1 tablespoon butter between 110° – 115°.
- Add milk and butter to the yeast water.
- Attach the bread hook and turn the mixer on low.
- Add in this order:
- 3 tablespoons packed brown sugar
- 1 cup flour
- 3/4 teaspoon salt
- 1/2 cup flour
- 1 cup quick cooking oats
- 1 cup flour
- Using the stand mixer with dough hook on low speed (1-2) for 5 – 6 minutes. This is not a sticky dough.
- Lightly flour a surface and remove dough from mixer then knead the dough for about 2 minutes.
- Put the palm of your hand in the center of the dough and press down and away from you. Fold the dough back into a ball and repeat. Poke your finger in the dough to be sure it springs back. If not keep kneading.
- Place 1/8 teaspoon of olive oil a large bowl spreading evenly then add dough turning once so the top is oiled and cover bowl with a cloth.
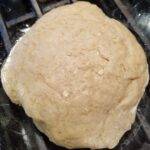
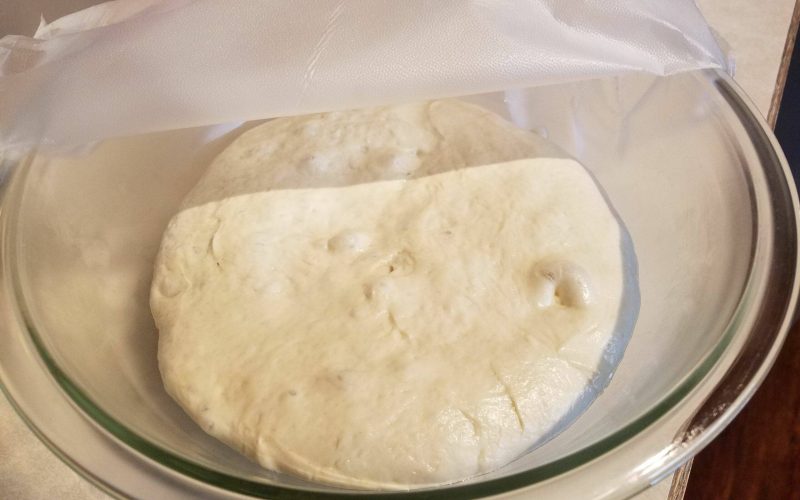
- Place in a warm dry place for 1 hour or until the dough doubles in size.
- I like to set my oven at 170° then turn off and place the dough inside the oven.
- After the dough has risen punch down.
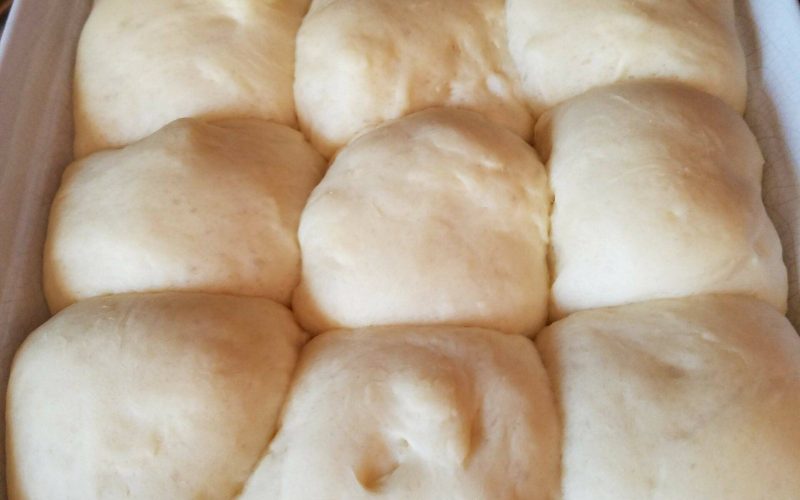
- Grease the loaf pan then add parchment paper so the loaf does not stick to the pan. Add dough, cover and place back in your warm dry place for about 1 hour.
- If you use an oven then preheat again to 170° F and turn off once the oven is preheated.
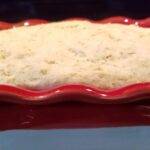 After the dough has risen again, remove from oven then preheat oven to 350° F and bake for 30 minutes.
- Cool completely on a wire rack.
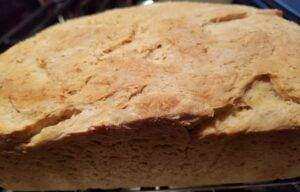
Bread Maker
- Heat 1/3 cup water between 110° F and 115° F. If the yeast is too cold it will take longer to activate if it is too hot then it will die.
- Be mindful if you are placing the heated water in a cold bowl because it will cool the water. I usually aim for about 118° F and after adding the water to the bowl it will cool to about 112° F
- Add:
- 1/3 cup water
- 2/3 cup milk
- 1 tablespoon butter
- 3 tablespoons packed brown sugar
- 2 ~ 1/2 cups flour
- 1 cup quick cooking oats
- 3/4 teaspoon salt
- Make a little volcano in the center of the flour with your finger and add 1 teaspoon yeast to the volcano
- Select the recipe size (1~1/2 pounds) and select the whole grain or basic white.
- I personally select the dough setting and then complete steps 12-15 in the stand mixer instructions.
By Hand
- Heat 1/3 cup water between 110° F and 115° F. If the yeast is too cold it will take longer to activate if it is too hot then it will die.
- Be mindful if you are placing the heated water in a cold bowl because it will cool the water. I usually aim for about 118° F and after adding the water to the bowl it will cool to about 112° F

- Be mindful if you are placing the heated water in a cold bowl because it will cool the water. I usually aim for about 118° F and after adding the water to the bowl it will cool to about 112° F
- Add water and 1 teaspoon yeast to a large bowl or stand mixer bowl; stir.
- Let stand for at least 10 min. When you start to see these bubbles you will know your yeast has activated.

- Heat 2/3 cup milk and 1 tablespoon butter between 110° – 115°.
- Add milk and butter to the yeast water.
- Add liquid to a large mixing bowl
- Add in this order:
- 3 tablespoons packed brown sugar
- 1 cup flour
- mix with your hands slowly letting the ingredients combine
- 3/4 teaspoon salt
- 1/2 cup flour
- 1 cup quick cooking oats
- mix with your hands slowly letting the ingredients combine
- 1 cup flour
- mix with your hands slowly letting the ingredients combine
- Flour a surface and knead the dough for about 6 – 8 minutes. Put the palm of your hand in the center of the dough and press down and away from you. Fold the dough back into a ball and repeat. The dough will be firm but you will be able to tell it is getting more elastic as you knead.
- Place 1/8 teaspoon of olive oil a large bowl spreading evenly then add dough turning once so the top is oiled and cover bowl with a cloth.

- Place in a warm dry place for 1 hour or until the dough doubles in size.
- I like to set my oven at 170° then turn off and place the dough inside the oven.
- After the dough has risen punch down.
- Grease the loaf pan then add parchment paper so the loaf does not stick to the pan. Add dough, cover and place back in your warm dry place for about 1 hour.
- If you use an oven then preheat again to 170° F and turn off once the oven is preheated.
 After the dough has risen again, remove from oven then preheat oven to 350° F and bake for 30 minutes.
- Cool completely on a wire rack.

Freezing Homemade White Oat Bread
One of the downsides to homemade bread is that it molds quickly, especially in the summer months. The bread does not have the preservatives found in the store-bought kind. This is OK, we don’t want to be eating those preservatives anyway, and the problem can be easily solved with a freezer.
- Allow the bread to cool completely
- Wrap in plastic wrap then depending on the loaf size place in a freezer bag or wrap with tin foil and place the loaf in the freezer.
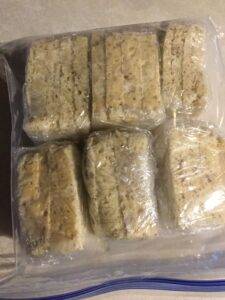
I like to slice the entire loaf, then wrap the slices in bundles of two, and store in a freezer bag. This is perfect for making sandwiches, but bundle them in whatever quantity you tend to use them in. They should still be easy to separate even though they were bundled together. To eat from freezer, separate the slices and toast or place on a paper towel until soft. I personally prefer toasting because it is better for your digestive system.
Homemade bread takes a little time and effort, but the taste and aroma can’t be beat! Check out our Bread recipes as well.
